
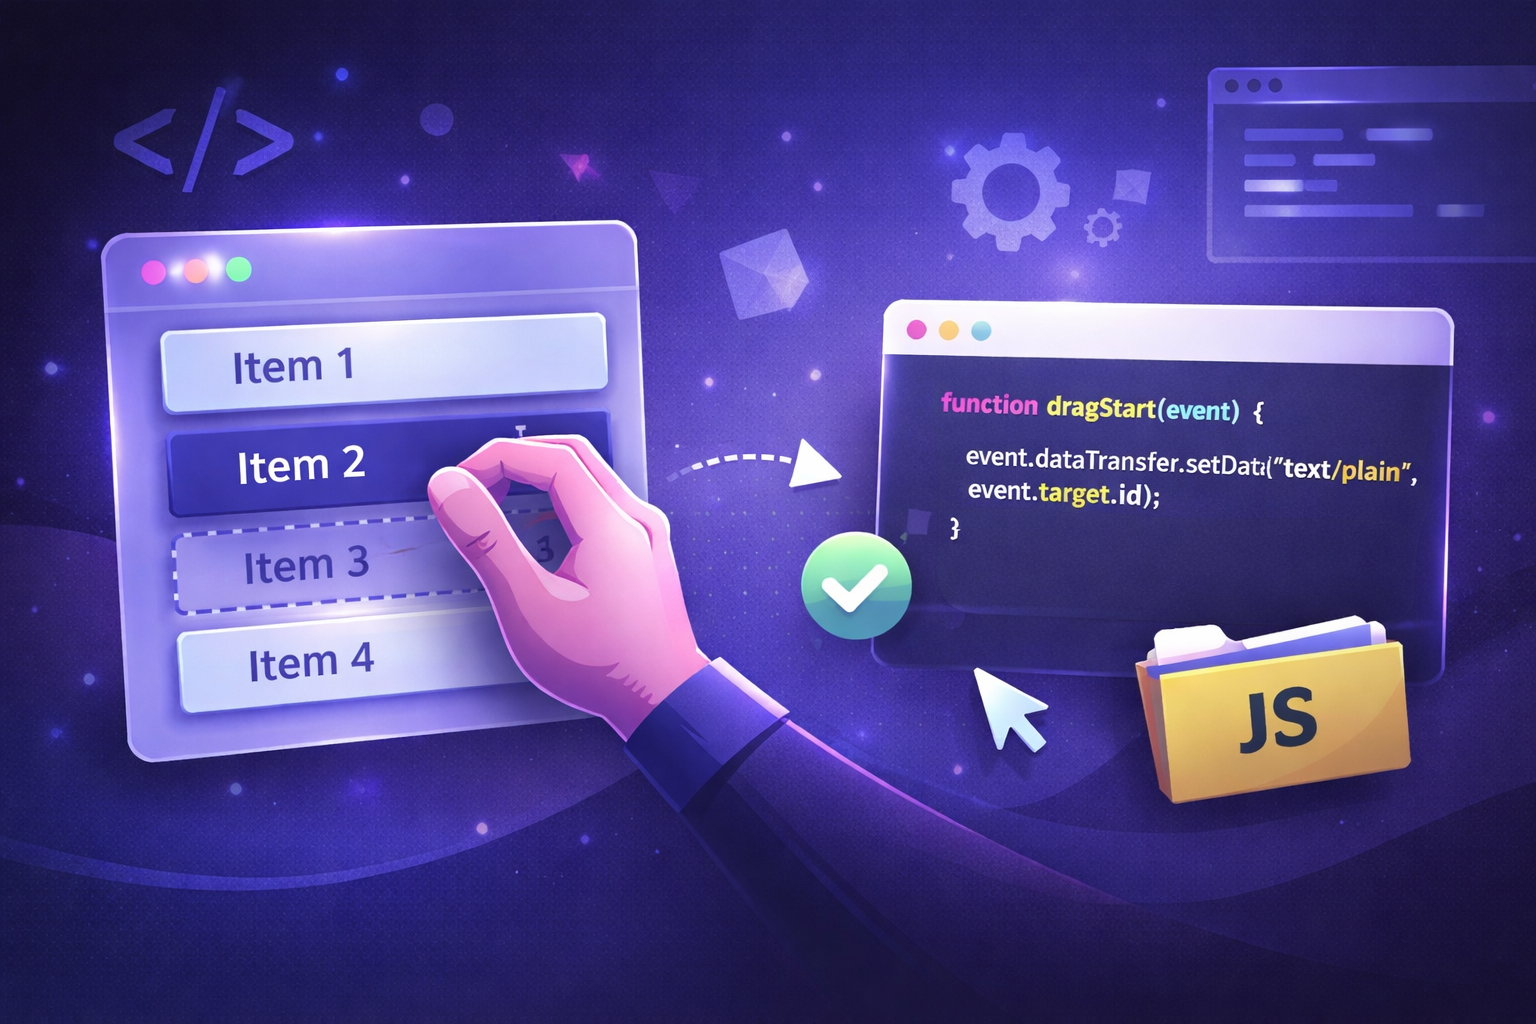
As I created my first full-stack app ever, I was overwhelmed by the possibilities and pitfalls. I wish I had a guide telling me which framework and what backend to choose in which situation.
That this doesn’t happen to you, I put together 5 tested and solid setups for you to start building your first full-stack app. But before we dive in let’s get straight what a full-stack app actually is and what each component does.
What Are Frontend and Backend?
- Frontend: This is what people see in the browser. It is written in HTML, CSS, and JavaScript.
- Backend: This is the server that stores data and sends data to the frontend. It often uses languages like JavaScript (with Node.js), Python, Ruby, or PHP.
- Database: A place where you store data. Common databases are MongoDB, PostgreSQL, and SQLite.
How Hosting Works and Prices
Before you start choosing your tech stack, it is very important to check your hosting options. I learned this the hard way: I once wrote an entire app using a complicated stack, only to realize later that there was no low-cost hosting available for it. If I hadn’t rewritten the app using a simpler stack, I would have had to pay a lot of money just to keep it online.
Choosing a stack without considering hosting can cost you time, money, and a lot of frustration.
Here are the ones I can recommend the most:
Vercel is a hosting service for modern web apps. It is best for frontend frameworks like Next.js, React, Vue, and Svelte. It also supports static HTML, CSS, and JavaScript websites. Vercel can run small backend code using serverless Node.js functions, but it is not good for full backend servers or long-running processes. It is free for small projects, and the paid plan is about 20 dollars per month.
Netlify is a hosting platform mainly for frontend websites. It works well with React, Vue, Angular, Svelte, and plain HTML, CSS, and JavaScript. Netlify supports simple backend logic using serverless Node.js functions, but it is not made for full backend applications. It has a free plan with limits, and you pay more if you need more bandwidth or build time.
Render is a full hosting platform for both frontend and backend apps. It supports Node.js, Express, NestJS, Python with Flask or Django, Ruby on Rails, and Go. Render can run real backend servers and background jobs, and it also supports databases like PostgreSQL and MySQL. It has a free tier for small apps, and paid plans start at about 7 dollars per month.
Supabase is a backend service, not a normal website host. It provides a PostgreSQL database, authentication, file storage, and APIs. Supabase works very well with frontend frameworks like Next.js, React, Vue, and Svelte. You usually use Supabase together with Vercel or Netlify. Supabase has a free plan with limits, which is good for learning and hobby projects.
Firebase Hosting is a Google service for web apps. It works well with React, Vue, Angular, and plain JavaScript apps. Firebase also offers serverless functions, authentication, and databases like Firestore. It has a free tier with usage limits, and you only pay if your app uses more data or traffic.
Heroku is a platform for hosting backend applications, but it is no longer free. It supports Node.js, Python, Ruby, Java, PHP, and other languages. Heroku is easy to use, but costs start at around 5 dollars per month and can increase quickly. Because of the cost, it is not a good choice for beginners today.
Okay now let’s get started with the tech stacks!
MERN Stack (MongoDB, Express, React, Node.js)
This is a full-stack setup that uses JavaScript everywhere. React runs in the browser and shows the page to the user. Node.js with Express runs on the server and creates API routes like /users. MongoDB stores the data in a JSON-like format. The React frontend sends a request to the Express backend, the backend reads or saves data in MongoDB, and then sends the data back to React.
The main advantage of MERN is that you only learn one language, JavaScript, and there are many tutorials and tools. It is fast to build modern apps. The downside is that MongoDB is not good for complex data relations, and big MERN apps can become messy if you do not organize the code well.
You can host the React frontend on Vercel or Netlify for free, and host the Node.js backend on Render using the free tier, so this stack is cheap and beginner-friendly.
How to get started with MERN
1. Create the backend (Node.js + Express)
Install Node.js, then run:
npm init -y
npm install express mongoose
Create server.js:
const express = require('express');
const mongoose = require('mongoose');

const app = express();
app.use(express.json());

mongoose.connect('mongodb://localhost:27017/myapp');

const User = mongoose.model('User', new mongoose.Schema({
  name: String
}));

app.get('/users', async (req, res) => {
  const users = await User.find();
  res.json(users);
});

app.listen(5000);
Run it with:
node server.js2. Create the frontend (React)
npx create-react-app client
cd client
npm start
Edit src/App.js:
import { useEffect } from 'react';

function App() {
  useEffect(() => {
    fetch('http://localhost:5000/users')
      .then(res => res.json())
      .then(data => console.log(data));
  }, []);

  return <h1>MERN App</h1>;
}

export default App;
3. Deploy it
- Push the frontend to Vercel or Netlify
- Push the backend to Render
- Use MongoDB Atlas for the database
MEVN Stack (MongoDB, Express, Vue, Node.js)
…is a full-stack setup that also uses JavaScript for everything, but it uses Vue instead of React. Vue runs in the browser and shows the user interface. Node.js with Express runs on the server and creates API routes. MongoDB stores the data in a JSON-like format. The Vue frontend sends requests to the Express backend, the backend talks to MongoDB, and then sends data back to Vue.
The big advantage of MEVN is that Vue is easier to learn than React for many beginners, and you still only use one language, JavaScript. It is clean and simple for small and medium apps. The downside is that Vue is less popular than React, so there are fewer jobs and tutorials.
You can host the Vue frontend on Vercel or Netlify for free, and host the Node.js backend on Render using the free tier, so it is also a low-cost stack.
How to get started with MEVN
1. Create the backend (Node.js + Express)
npm init -y
npm install express mongoose
Create server.js:
const express = require('express');
const mongoose = require('mongoose');

const app = express();
app.use(express.json());

mongoose.connect('mongodb://localhost:27017/myapp');

const User = mongoose.model('User', new mongoose.Schema({
  name: String
}));

app.get('/users', async (req, res) => {
  const users = await User.find();
  res.json(users);
});

app.listen(5000);
Run it:
node server.js2. Create the frontend (Vue)
npm install -g @vue/cli
vue create client
cd client
npm run serve
Edit src/App.vue:
<template>
  <div>
    <h1>MEVN App</h1>
    <p v-for="user in users" :key="user._id">{{ user.name }}</p>
  </div>
</template>

<script>
export default {
  data() {
    return { users: [] };
  },
  async mounted() {
    const res = await fetch('http://localhost:5000/users');
    this.users = await res.json();
  }
};
</script>
3. Deploy it
- Deploy the Vue app to Vercel or Netlify
- Deploy the Express backend to Render
- Use MongoDB Atlas for the database
This gives you a working MEVN full-stack app with free hosting.
LAMP Stack (Linux, Apache, MySQL, PHP)
This is the classic full-stack setup that has been used for many years. The backend and frontend are mixed together on the server. PHP runs on the server and creates HTML pages. Apache sends these pages to the browser. MySQL stores the data in tables with rows and columns. The browser asks the server for a page, PHP gets data from MySQL, builds HTML, and Apache sends it back to the user.
The big advantage of LAMP is that it is simple, stable, and supported by almost every hosting provider. It is very cheap and easy to deploy.
The downside is that it is not modern, not very fast for large apps, and frontend and backend code are mixed, which can get messy.
LAMP is best hosted on shared hosting or a cheap VPS, and many providers support it out of the box. It is usually paid, but very cheap compared to modern stacks.
How to get started with LAMP
1. Set up the server
- Install XAMPP, MAMP, or use shared hosting
- This gives you Apache, PHP, and MySQL
2. Create the database (MySQL)
CREATE DATABASE myapp;
USE myapp;

CREATE TABLE users (
  id INT AUTO_INCREMENT PRIMARY KEY,
  name VARCHAR(100)
);
3. Create the PHP app
Create index.php:
<?php
$conn = new mysqli("localhost", "root", "", "myapp");

$result = $conn->query("SELECT * FROM users");

while ($row = $result->fetch_assoc()) {
  echo $row["name"] . "<br>";
}
?>
4. Run it
- Put the file in the Apache folder
- Open
http://localhost/index.phpin the browser
5. Deploy it
- Upload files to shared hosting
- Create MySQL database in hosting panel
This is a full LAMP app running on very cheap hosting.
Django + PostgreSQL + React
A setup that uses Python for the backend and JavaScript for the frontend. Django runs on the server and creates an API that sends data as JSON. PostgreSQL is the database and stores data in tables with rows and columns. React runs in the browser and shows the user interface. React sends requests to the Django API, Django reads or writes data in PostgreSQL, and then sends the data back to React.
The big advantage of this stack is that Django is very structured and secure, and PostgreSQL is very strong for real data and relations. It is good for serious and large apps. The downside is that you must learn two languages, Python and JavaScript, and setup takes more time.
You can host the React frontend on Vercel for free, host the Django backend on Render, and use PostgreSQL on Render or Supabase, which keeps the cost low.
How to get started with Django + PostgreSQL + React
1. Create the backend (Django)
pip install django djangorestframework
django-admin startproject backend
cd backend
python manage.py startapp api
python manage.py runserver
Edit api/views.py:
from rest_framework.decorators import api_view
from rest_framework.response import Response

@api_view(['GET'])
def users(request):
    return Response([
        {"name": "Alice"},
        {"name": "Bob"}
    ])
Edit backend/urls.py:
from django.urls import path
from api.views import users

urlpatterns = [
    path('users/', users),
]
2. Create the frontend (React)
npx create-react-app client
cd client
npm start
Edit src/App.js:
import { useEffect } from 'react';

function App() {
  useEffect(() => {
    fetch('http://localhost:8000/users/')
      .then(res => res.json())
      .then(data => console.log(data));
  }, []);

  return <h1>Django React App</h1>;
}

export default App;
3. Deploy it
- Deploy React to Vercel
- Deploy Django to Render
- Use PostgreSQL from Render or Supabase
This stack is powerful, professional, and still affordable if hosted correctly.
Flask + SQLite + Vanilla JavaScript
A very simple full-stack setup that is great for beginners. Flask runs on the server and handles requests. It sends data as JSON. SQLite is the database and is just a single file on the server, so it is very easy to use. Vanilla JavaScript runs in the browser and fetches data from Flask and shows it on the page. The browser asks Flask for data, Flask reads or writes data in SQLite, and then sends it back. The big advantage of this stack is that it is small, easy to understand, and fast to set up. There is very little magic. It is perfect for learning how the backend and frontend talk to each other. The downside is that SQLite is not good for big apps or many users, and Flask needs more setup for large projects. You can host Flask apps very cheaply on Render using the free tier, which makes this stack very safe for your wallet.
How to get started with Flask + SQLite + Vanilla JS
1. Create the backend (Flask)
pip install flaskCreate app.py:
from flask import Flask, jsonify

app = Flask(__name__)

@app.route('/users')
def users():
    return jsonify([
        {"name": "Alice"},
        {"name": "Bob"}
    ])

app.run(debug=True)
Run it:
python app.py2. Create the frontend (HTML + JS)
Create index.html:
<!DOCTYPE html>
<html>
<body>
  <h1>Flask App</h1>
  <div id="users"></div>

  <script>
    fetch('http://localhost:5000/users')
      .then(res => res.json())
      .then(data => {
        document.getElementById('users').innerHTML =
          data.map(u => u.name).join('<br>');
      });
  </script>
</body>
</html>
3. Deploy it
- Push the Flask app to Render
- Use SQLite file on the server
- Serve the HTML as static files or from Flask
This stack is simple, cheap, and perfect for your first real backend app.
When to Use Each Stack
Use the MERN stack when you want a modern web app with a lot of interactivity and you want to use only JavaScript for everything. It is good for dashboards, user accounts, and apps that feel like real products, but you need to keep the code organized or it can become messy.
Use the MEVN stack when you prefer Vue over React and want an easier, cleaner frontend while still using JavaScript everywhere. It works well for small to medium apps and quick development.
Use the LAMP stack when you want something very cheap, simple, and supported by almost every hoster. It is ideal for blogs, small tools, and classic websites, but not for modern frontend-heavy apps.
Use Django + PostgreSQL + React when you need strong structure, security, and complex data handling. This stack is best for serious applications, business logic, and long-term projects, but it takes more time to learn.
Use Flask + SQLite + Vanilla JavaScript when you want to learn how backend and frontend work together or build a small app quickly. It is perfect for prototypes and learning, but not suitable for large or high-traffic apps.
Final Words
Choosing the right stack and host before you start coding can save you a lot of time, money, and frustration. Each stack has its strengths and weaknesses, and the best one depends on your goals, experience, and project size.
For beginners, Flask + SQLite or MEVN can help you learn quickly and keep costs low. For more serious or professional projects, MERN or Django + React give more power and flexibility.
Always consider hosting options and free tiers to avoid unexpected expenses. Start small, build something working, and then expand—this approach will make learning full-stack development easier, faster, and more enjoyable.
Happy coding!
Leave a Reply